- Introduction
- Registration
- Log In
- Navigation
-
Eligibility Lookup
- Initiate Eligibility Lookup
- Initiate Patient Status Lookup
- Beneficiary Eligibility Information Panel
- Part B Deductible
- Medicare Advantage
- Medicare Secondary Payer
- Crossover
- Qualified Medicare Beneficiary
- Home Health Plan
- Hospice Notice of Elections
- Hospice Benefit Periods
- Inpatient and SNF Spell History
- End Stage Renal Disease
- Preventive Services
- Audiology Screening
- Hepatitis Screening
- COVID-19 Vaccine
- Flu Vaccine
- Pneumococcal Vaccine
- Cardiac Rehabilitation
- Pulmonary Rehabilitation
- Acupuncture Benefits
- Smoking Cessation Counseling
- Cognitive Assessment and Care Plan Information
- Therapy
- Diabetes Self Management Training (DSMT)
- Medical Nutrition Therapy (MNT)
- Accessing Eligibility for MDPP in NGSConnex
- Claims Status Inquiry
- Part B Claim Submissions
- Appeals
- ADR
- Inquiries
- Resources
- MBI Lookup
- Remittance
- Part A Prior Authorization Request
- Part B Prior Authorization Request
- Financials
- Manage Account
View Checks and Special Checks Search
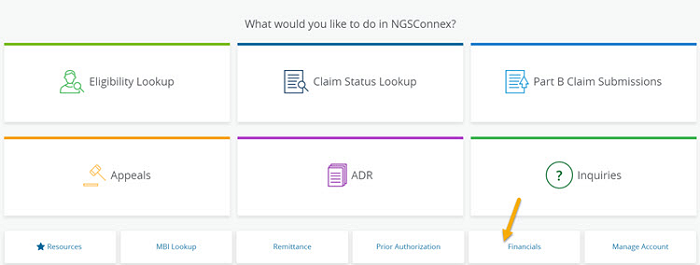
- Select the Financials button on the home page.

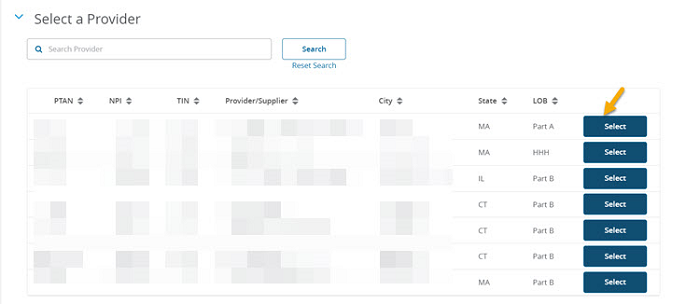
- In the Select a Provider panel, click the Select button next to the applicable provider account.

- Select Checks/EFT or Special Checks from the Financial Options drop-down menu.

- Use the Filters to search. You can search with the following information.
- Check From and Check To Dates –the ‘Check From’ and ‘Check To’ date span cannot exceed a one year span.
- Last 10 Checks
- Click Search. To clear the filters and rest the search click the Reset Search link.

The following information will be provided.
- Check/EFT Number
- Issue Date
- Check/EFT Amount
- Check/EFT Status
- Check/EFT Cashed Date

- To view the Remittance associated with the check, click the checkbox to the left of the Check/EFT number.
- Click the View Remittance button.
